
Battle Pack 1 for Combat Mission Red Thunder was released yesterday. It is always great to see new official content for Combat Mission and this follows a tradition of high quality and value.

Just a clarification, you will require a copy of Combat Mission Red Thunder (the base game) and the Fire and Ruble DLC, to enjoy this battle pack. The Battle Pack 1's main area of operation is eastern Poland (summer 1944).
It is an old tradition for me to start with the smallest scenario when I get new Combat Mission content, so I loaded Lesson 1 (of a series of 3) about SPW squad tactics. These scenario/lessons are inspired in a period document "Combat Instruction for the Panzer Grenadier" (Maj. von Wehren) and canned into this pieces of art scenarios that George MC creates.
A mechanized Panzer Grenadier's platoon is on point and acting as an advance guard for a bigger formation. It must secure a route and a bridge, enemy infantry is expected to be defending the access to the bridge.
So, this is what happened when I played this scenario. Spoilers warning.
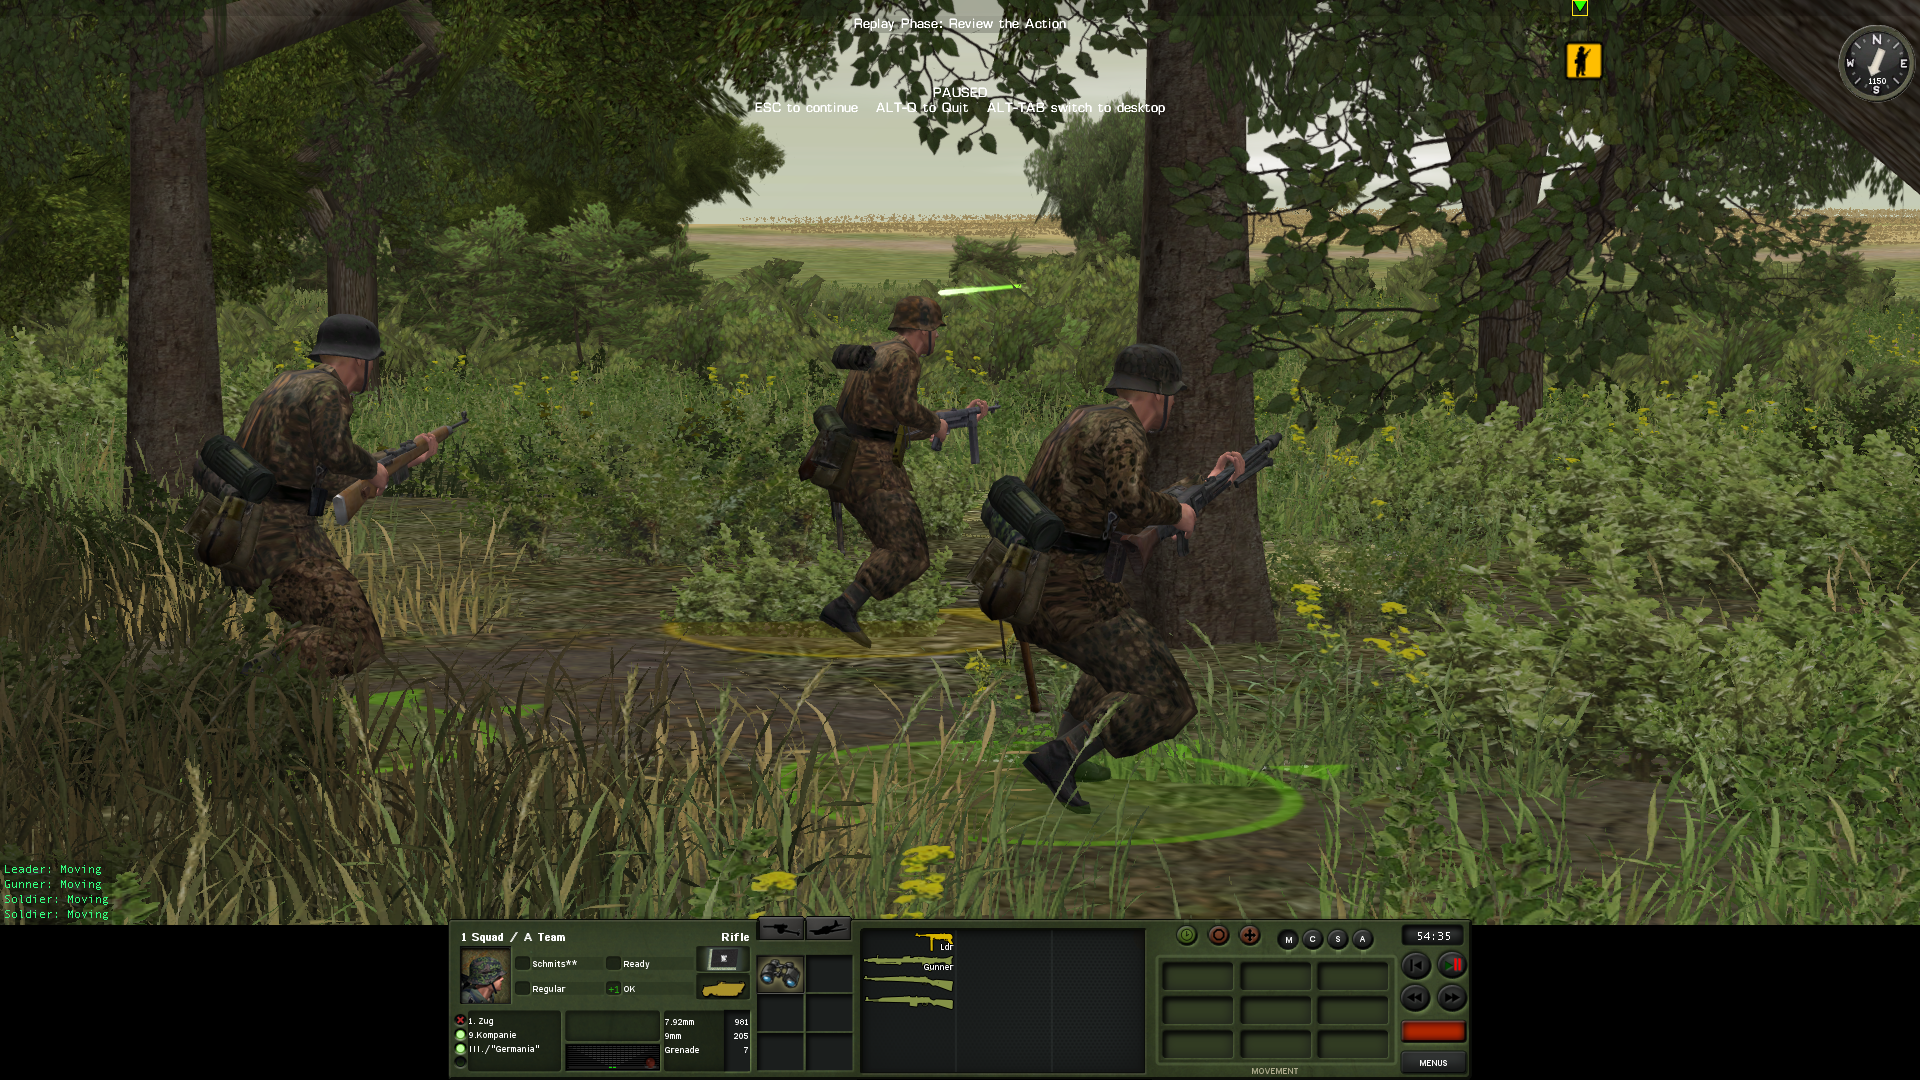
The tactical use of mechanized infantry during WWII is a topic with many nuances, and this scenario slaps you in the face with almost all of them. The first theme is close terrain: I had my grenadiers dismounted to establish contact with the enemy (see above screenshot). A slow advance kind of saved Unteroffizier Schmits (yellow base) upon the sudden fire of enemy infantry. Schmits got injured, but he was patchable and carried on with the mission. Note that I have split my squad in two teams, a tactical luxury that leaves me with two teams equipped with one MG42 each.
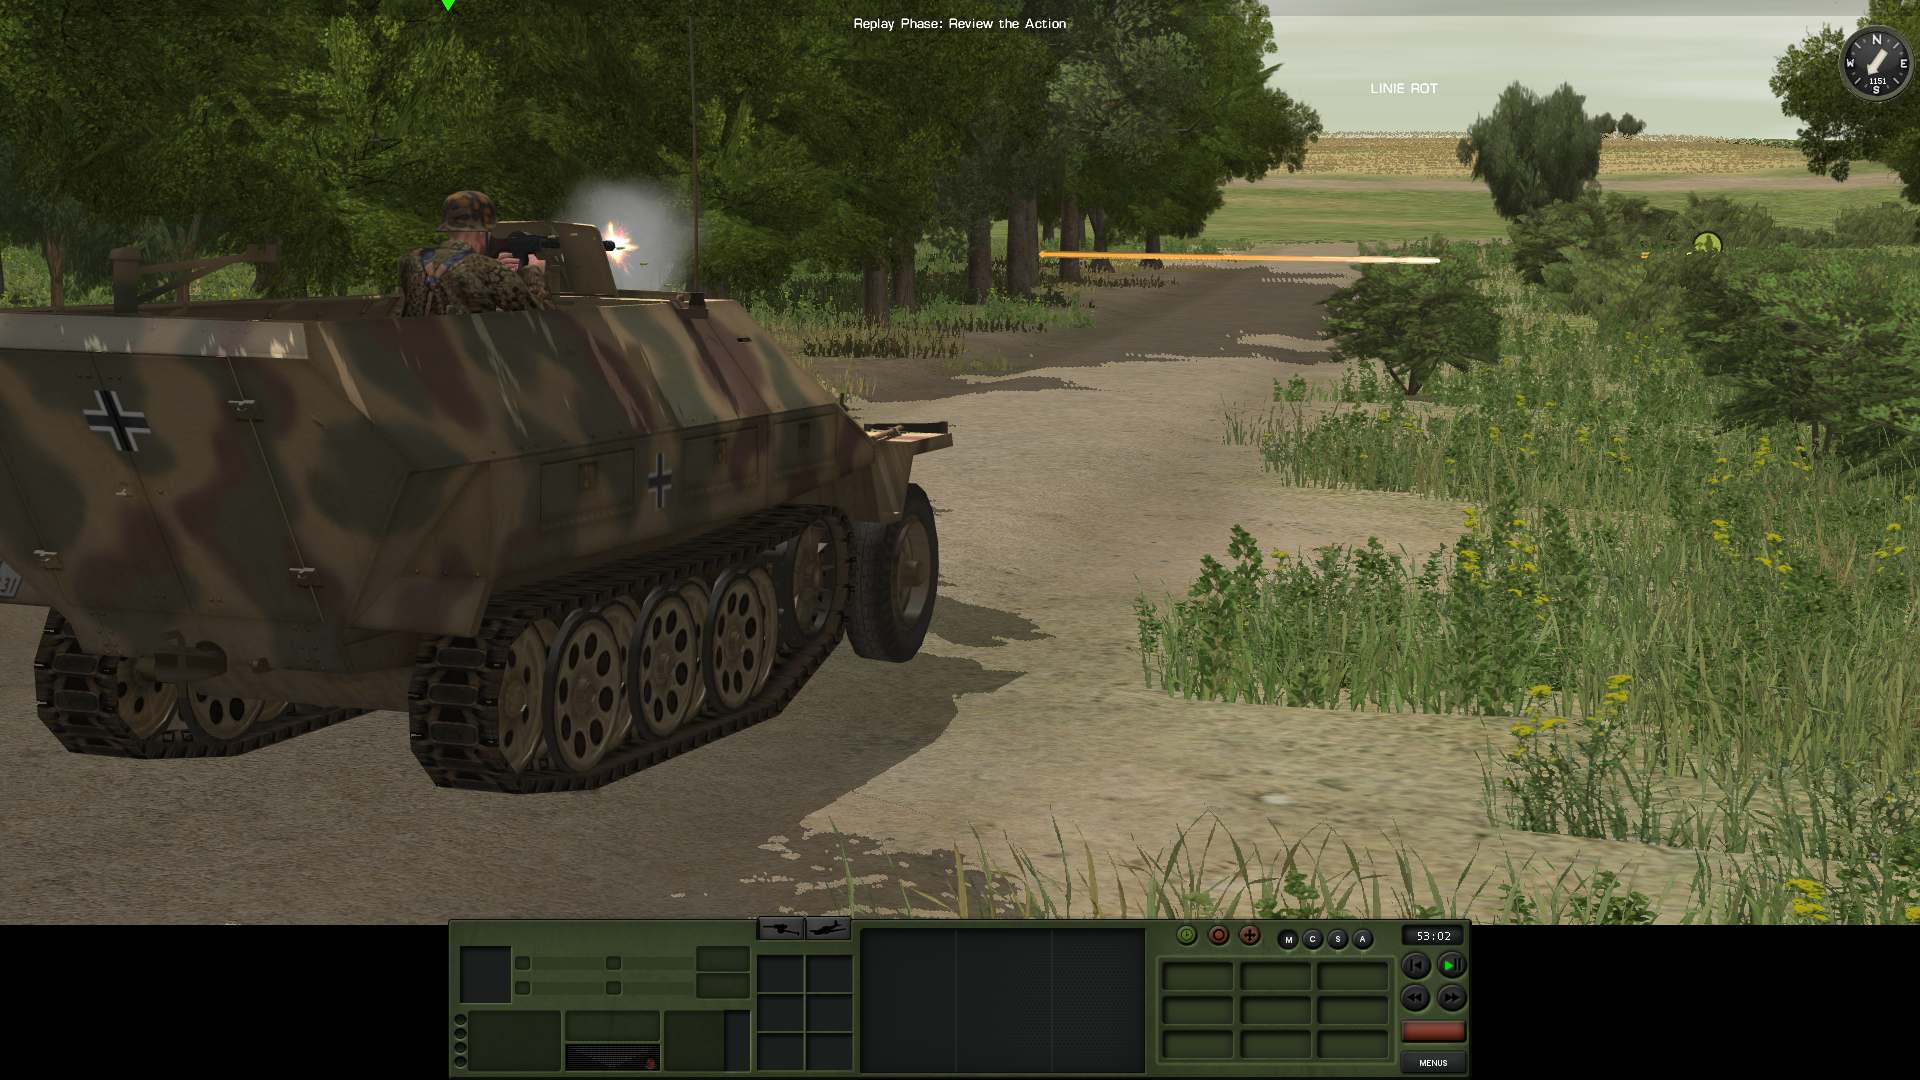
Almost immediately after that, the second topic: suppression, in this case provided by the halftrack. When using this halftrack, I couldn't but chuckle at the irony of the situation: WWII German tactical doctrine envisioned the MG as the main killer weapon weapon, so in this case I have a MG suppressing the enemy and I have the intention to move in for the kill with infantry bearing MG themselves.
I have had some thought given to this back when I was younger and I appreciate this scenario to bring it back to me. Check out this detailed review of German squad level infantry tactics using German regulations and American studies. I got a copy from Battlefront.com back in the Combat Mission 1 years. One passage reads:
In contrast to the doctrine of other nations the German army holds that the machine gun, not the rifle is the backbone of infantry tactics. The German squad is built around the light machine gun. It is the squad's base of fire. The riflemen support it and provide ammunition for it. In the US squad, the rifleman are the base of fire and the BAR supports the riflemen. This may be one of the reasons why the Germans stayed with the K-98k rifle (designed originally in 1898 and modified last in 1930). In the US squad the M1 rifle (adopted in the 1930's) was the newer weapon while their automatic weapon, the BAR (originally an 1918 design) was old. In the German squad the MG-34 (introduced in 1936) was the new design. The Germans even came out with a replacement for the MG-34 in 1942 (the MG-42).

Closing in and eliminating the enemy infantry worked out pretty well and the find-suppress-kill chain worked out uneventful.
I decided to use this point squad in a right flank advance, as the crow flies, to the bridge. The rest of the platoon was on its way but I wanted to have eyes on the enemy and recover contact as soon as possible, as they say.
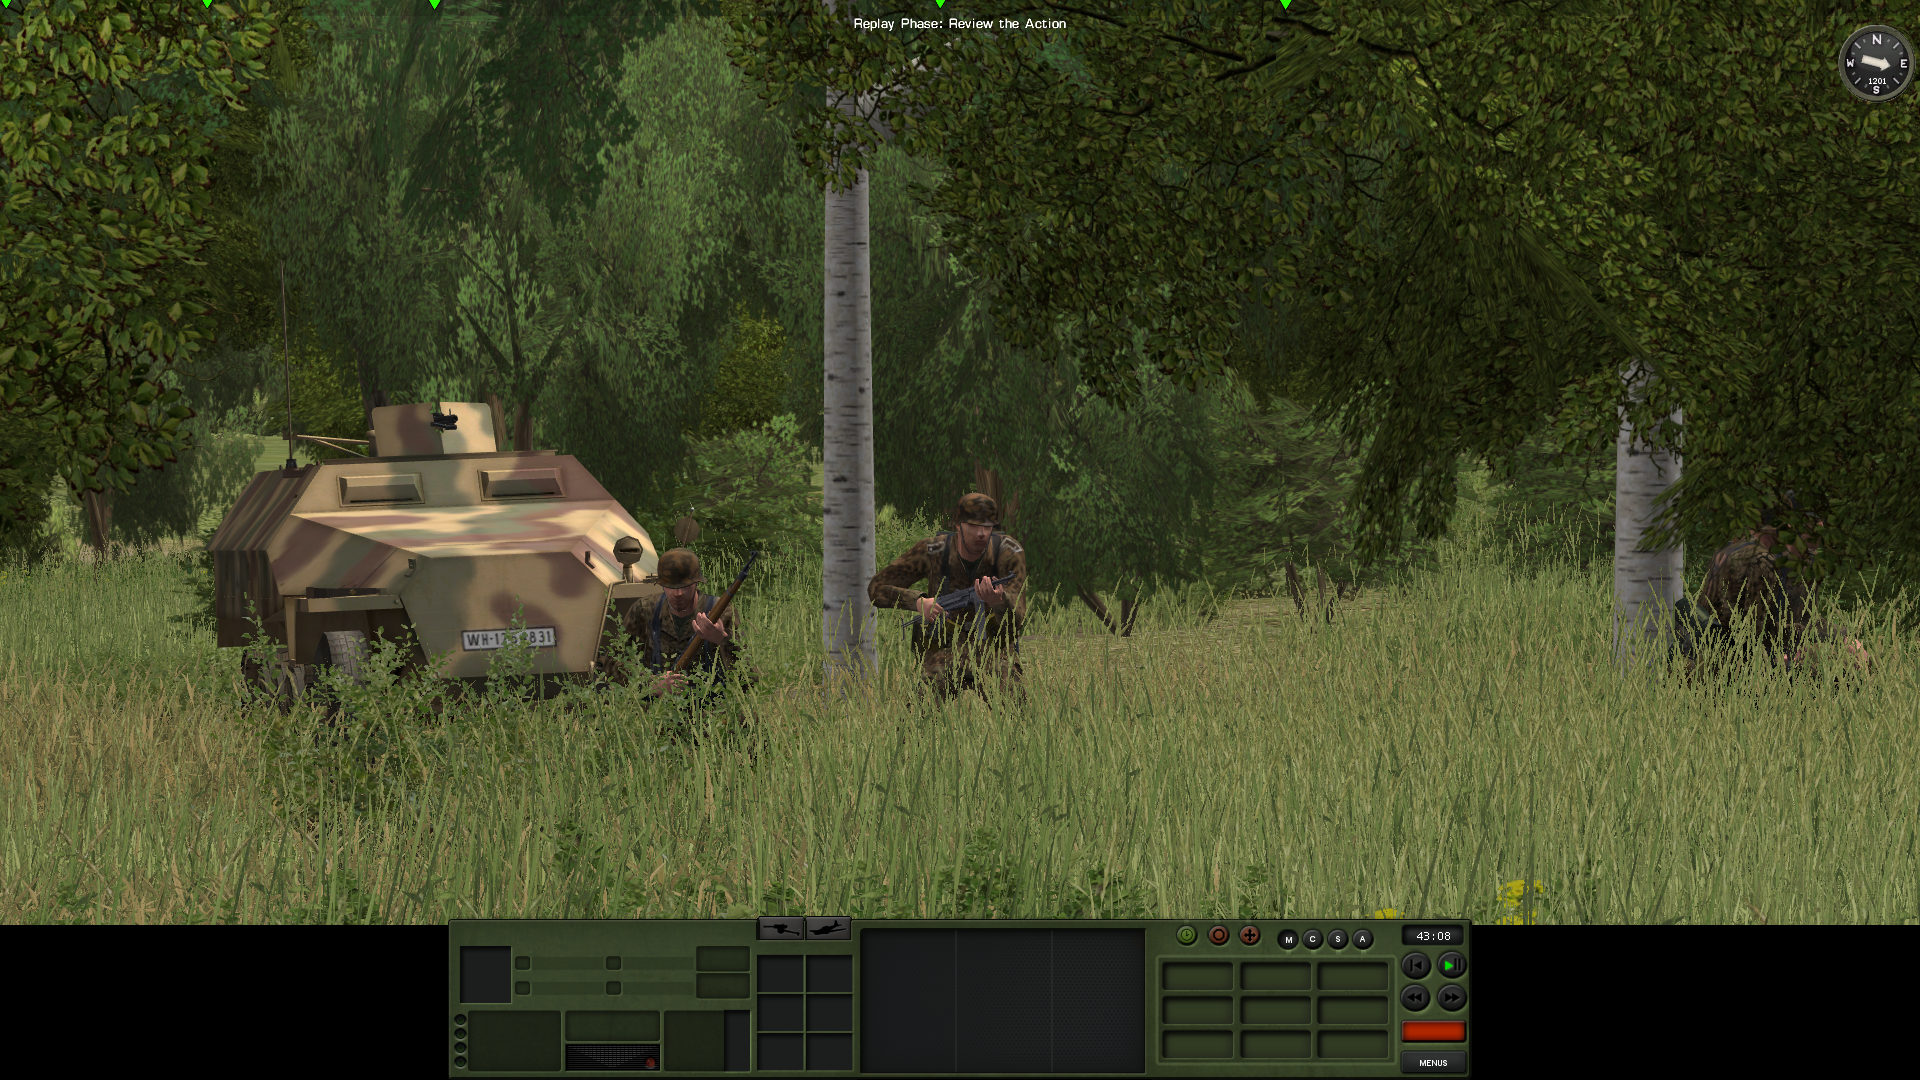
The advance took the first squad through a patch of wooded terrain, for which I used both infantry and vehicle in a close formation. Ideally, the infantry should have been ahead of the vehicle. But after all, the first squad, including its vehicle, reached out the last tactical obstacle before the objective bridge: a farm located just near the road. Enemy resistance was consistent with the importance of the farm for the mission.


The first/point squad was not sufficient to neither secure the farm nor to establish fire superiority. The multiple buildings and bushes within the farm were not friendly to our lines of sight and fields of fire. So I slowly started pulling my first squad towards the bridge in order to find out the enemy dispositions close to it.
Fortunately, the rest of the platoon has arrived and started to deploy for an assault on the farm. In the screenshot below, you will notice how the slopes near the farm allowed for a covered approach. In a bout of caution one squad is seen deploying smoke in the screenshot below.
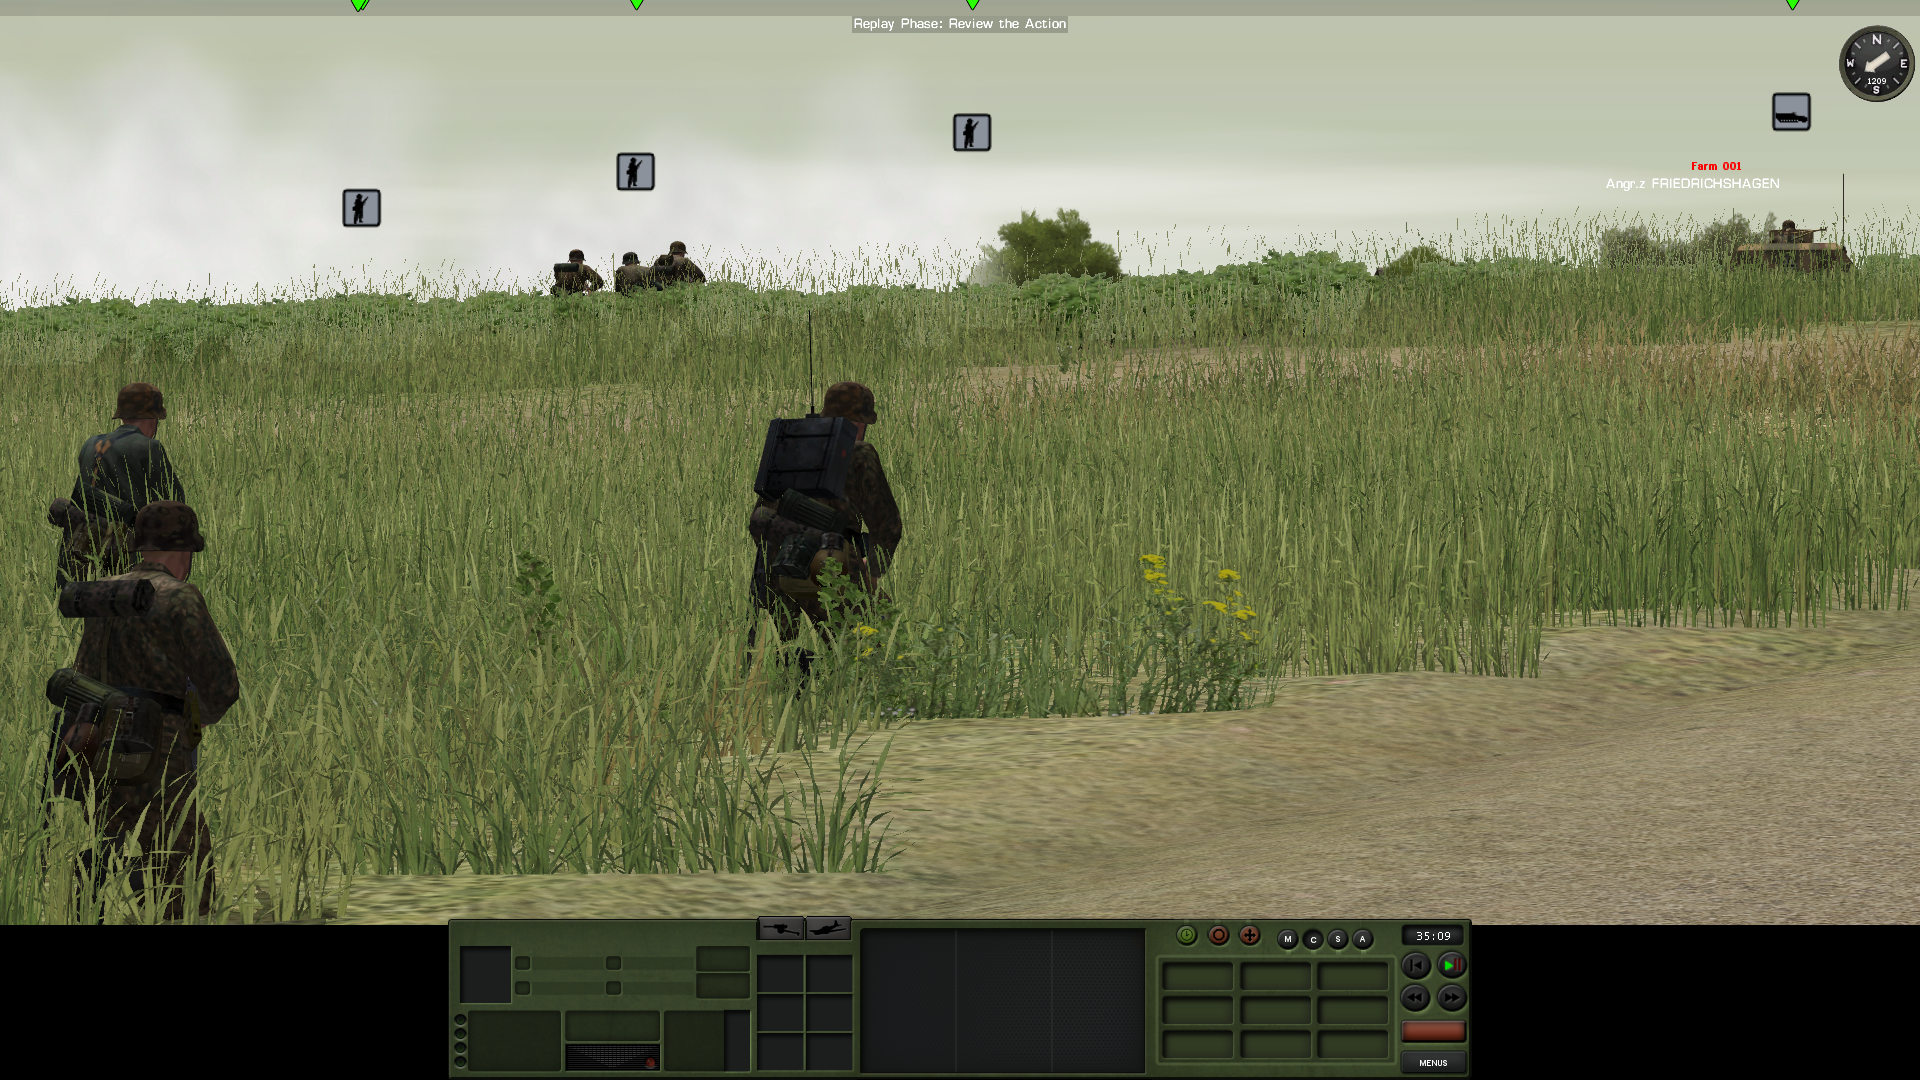
Below is a birds-eye view of the battlefield, some minutes before. Notice the first squad on the right (NW) and the rest of the platoon maneuvering near the farm.

The assault on the farm was not free of problems: suppressing the main enemy position (a sturdy farmhouse) required a lot of maneuvering from both men and machines. Those lines of sight were tricky and any interruption in the suppression was payed dearly.

And speaking about the procurement of good lines of sight: at least it forced me to spread the halftracks on a wide arc around the farmhouse, which allowed me to have some vehicles overwatch the first squad's approach to the bridge.


No comments:
Post a Comment