
Featuring new game mechanics like siege warfare (check out my earlier video) and wars that I I never wargamed before (the First and Second Crusades), Crusades is a very approachable and fast game. But, like any other Wargame DS game, the details and food for tactical thought are at a premium.
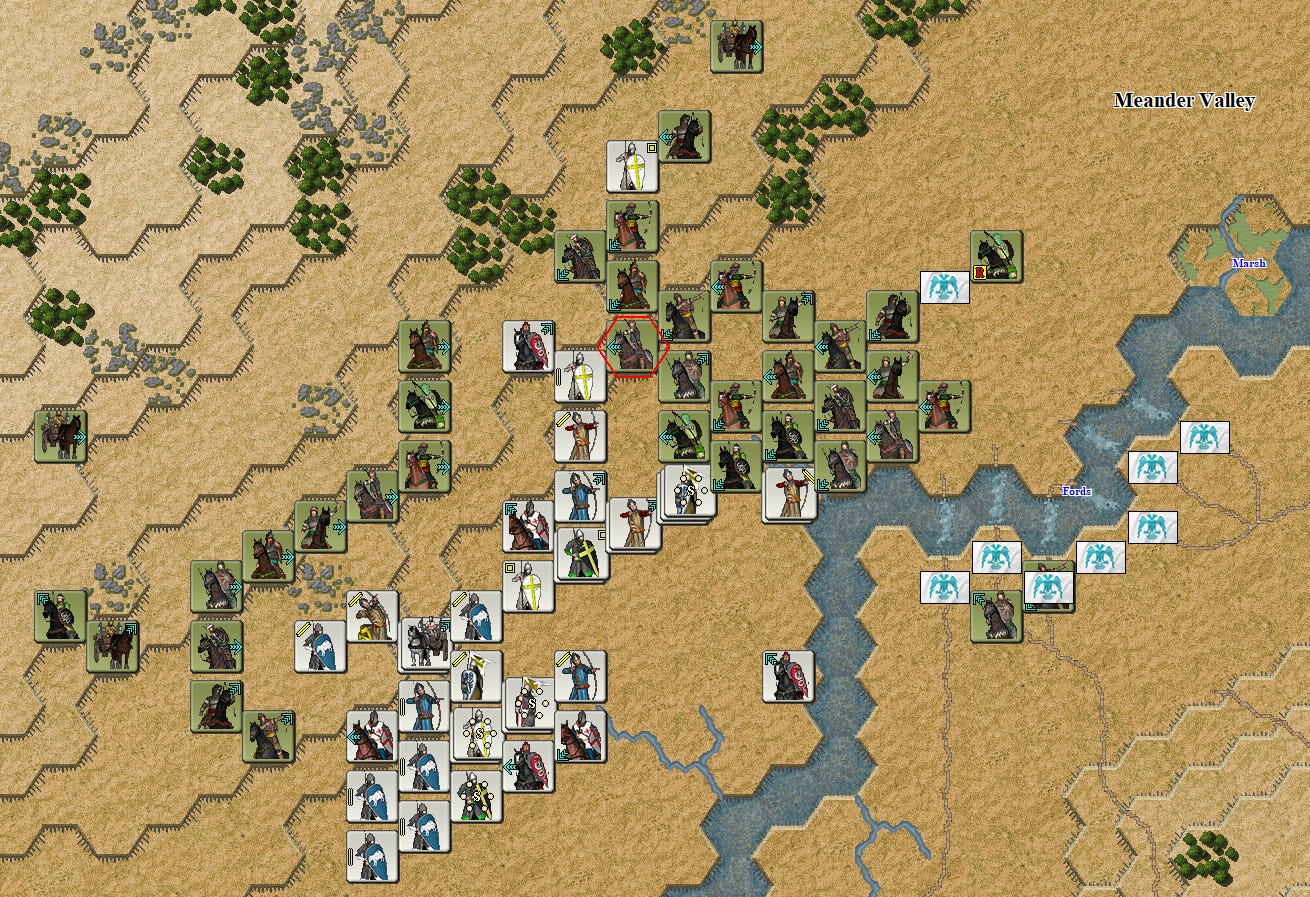
In the “Battle of the Meander” scenario, I took command of the Seljuk army in order to kick the tires of the game from the tactical point of view. The scenario is just 16 turns or so and presents the Crusaders advance guard’s push to secure a river crossing. The Seljuk army is a cavalry force for the most part, pretty much along the lines of what is chronicled in history. See the screenshot below for the starting positions (green counters: Seljuks, gray counters: Crusaders). Note that full fog of war is in effect.
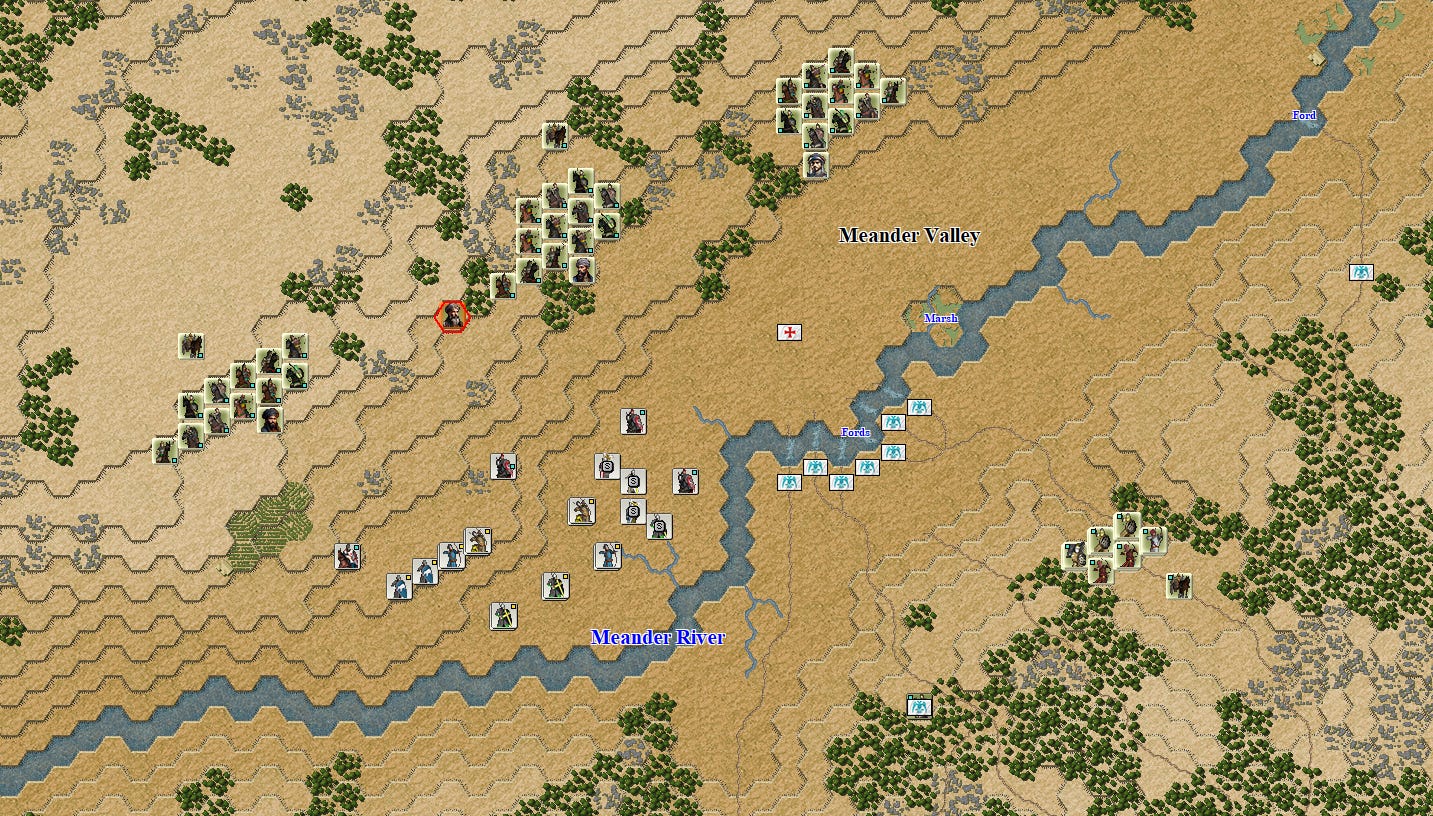
In real life, the Seljuks were the masters of high-mobility and would fight a raiding cumulative campaign, frequently targeting the rear of the Crusaders forces, with a big emphasis on using horse archers and high mobility. See page 75 of “Crusading Warfare” by R. C. Small.
The game scenario starts with the Seljuk forces on the high ground, and I planned to engage the Crusaders at a range, retreating or feigning it when necessary. I was very conscious that melee combat would favor the Crusaders and I tried to avoid it. Easier said than done …
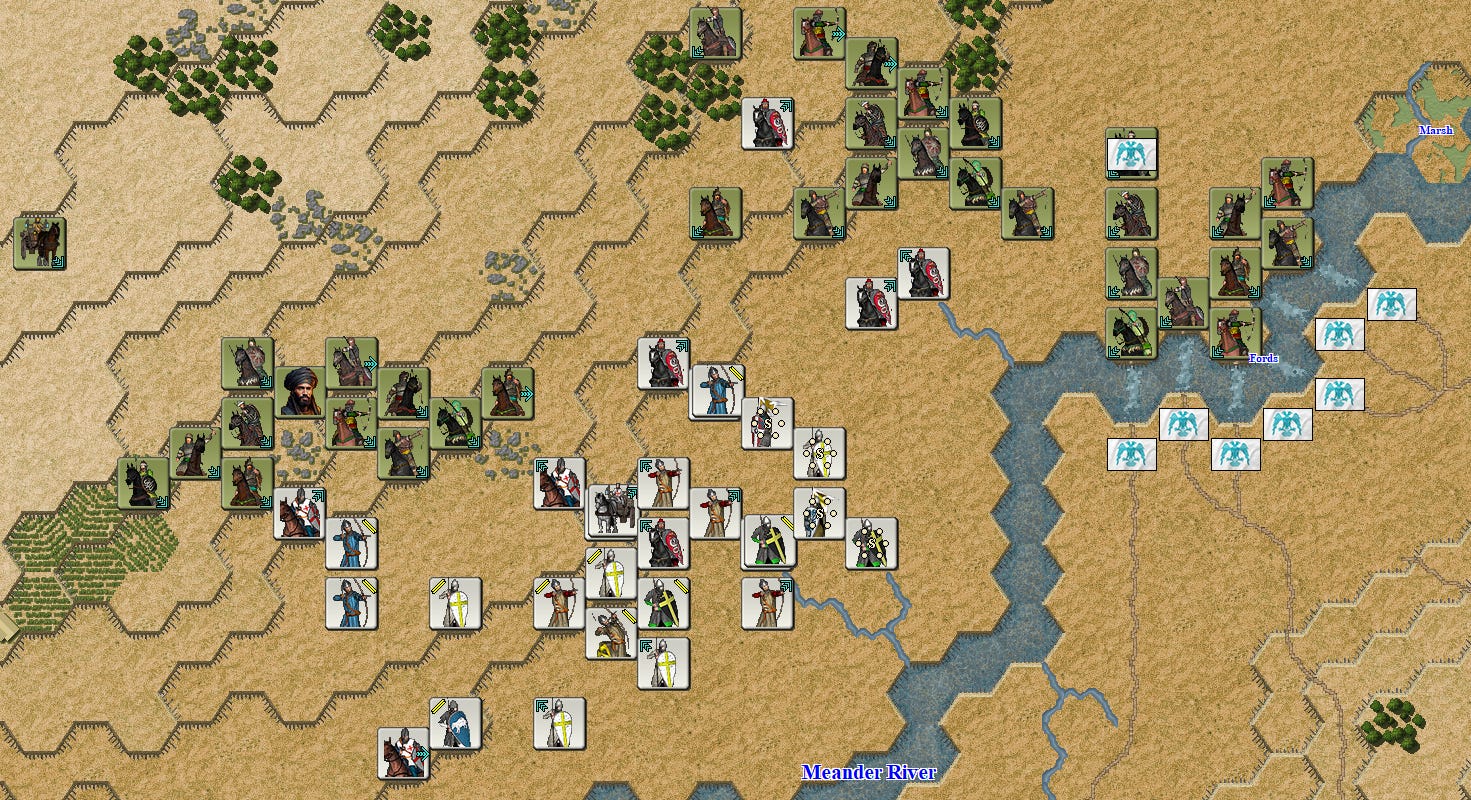
Our banner in the West descended at high speed and started pelting the Crusader’s rear with arrows. The Crusaders made a good effort to close with us and engage in short range combat. But the volume of our arrows and the strain of moving uphill left them disorganized and uable to engage in melee combat. For a couple of turns I enjoyed seeing the Crusaders trying to cope with the threat to their nortwest flank. This allowed my other two banners in the northeast to deploy and block the route to the crossing points.
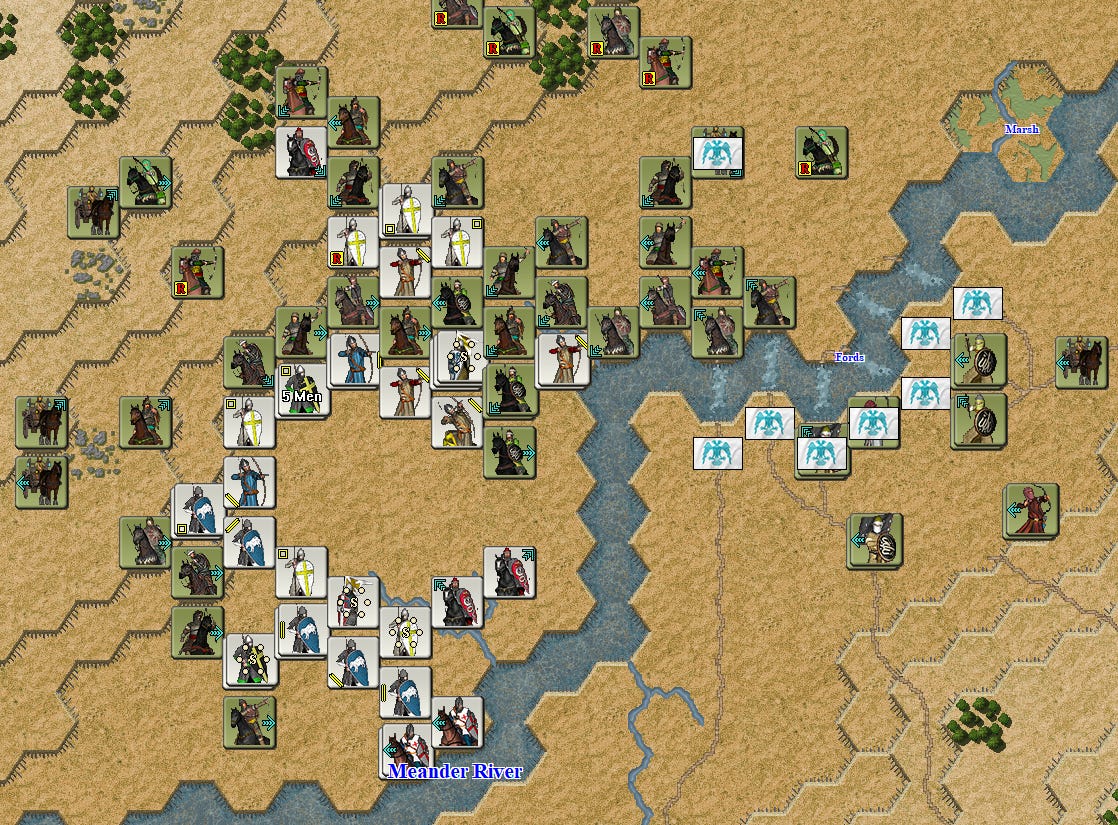
The situation evolved to almost encirclement, with the Crusaders sandwiched in between my banners. Their northwest flank was open, uphill and thus unreachable. I thought I had the Crusaders in a panic and prepared myself for how to destroy the enemy force with mostly missile force.
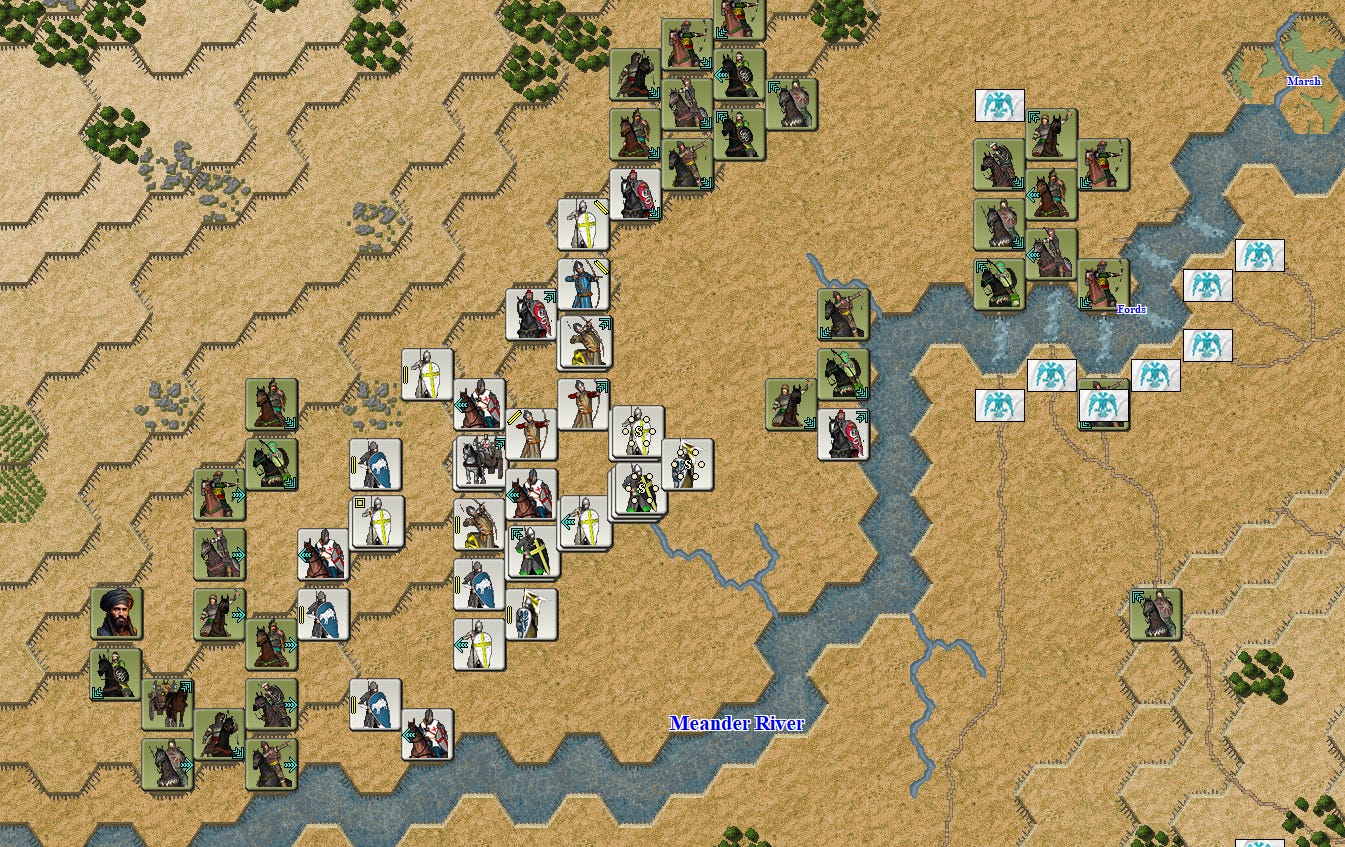
But then it happened: out of nowhere the Crusaders collected themselves and started pushing towards the crossings. A morass of Seljuk archers found themselves unable to retreat from the Crusader’s close assault. There were just too many Seljuk horsemen.
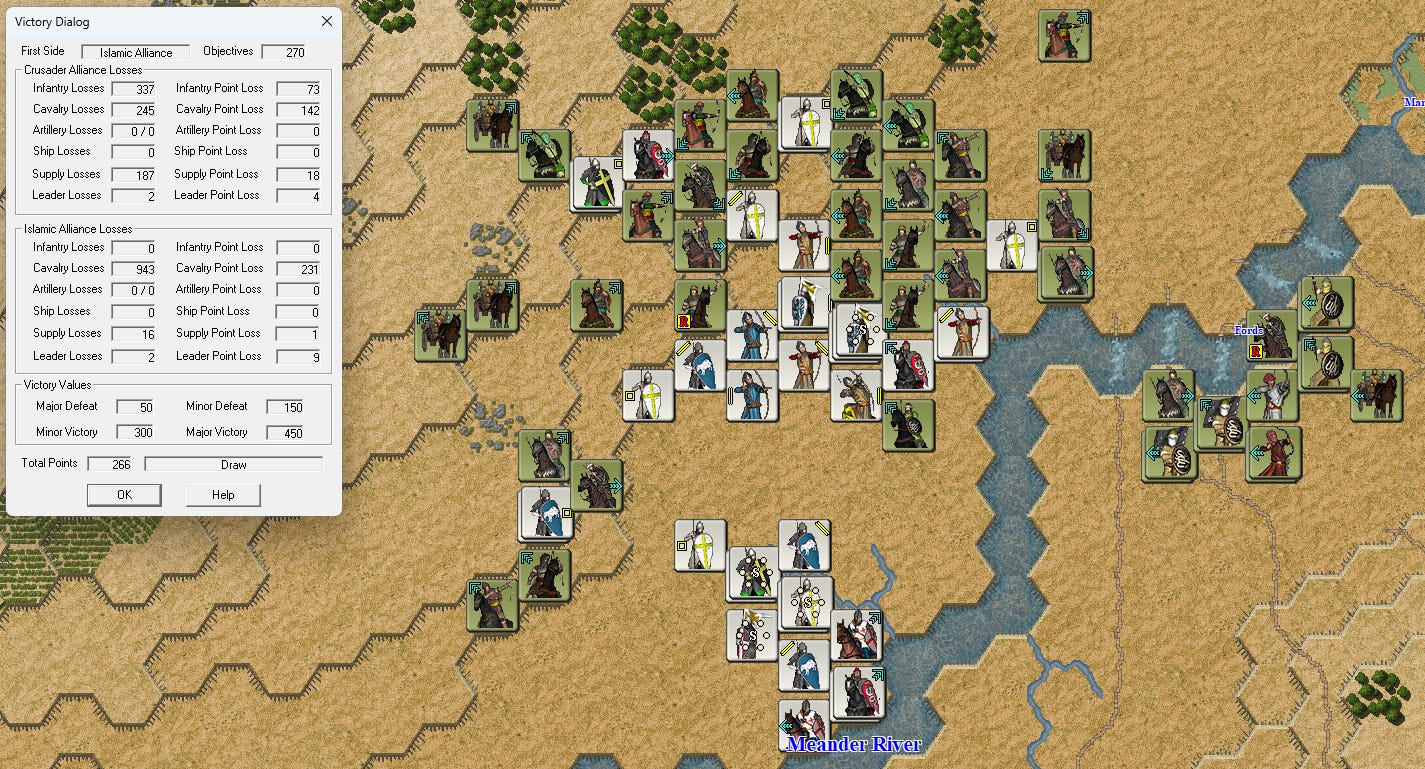
Forces of my West banner started moving towards the tip of the Crusader’s spear, climbing uphill and hoping to interdict the Crusader’s push via their northwest flank. The situation near the crossings was getting ugly. It is incredible what determined heavy cavalry and infantry can do to my Seljuk forces when they close with us. The Crusaders pushed hard and I lost many horsemen in this debacle.
Tha battle ended in a draw, mainly because of our losses. Our greatest asset, mobility in the offense was squandered in a defensive paralysis.
Cheers,
JC
No comments:
Post a Comment